
Peptide kit reconstitution sounds technical, but it's really just a series of careful steps you follow to wake up your peptides without damaging them. Done wrong, you waste expensive compounds and compromise your data. Done right, you get consistent, usable solutions ready for your research. Let's walk through what actually matters.
Start With Pressure Balancing
The first thing most researchers miss is pressure balancing. When you open a peptide vial, there's usually vacuum-sealed pressure inside. If you ignore this, you'll fight the vial when you try to draw your solvent or peptide solution. It's annoying and it puts unnecessary stress on the contents.
Related: Best BPC 157 Peptide Kit for Research Labs in 2026
Here's what you do: Take a sterile needle and gently insert it into the vial cap. Hold it at an angle so the needle just breaks the seal without stabbing through the rubber stopper dramatically. You'll hear a small hiss as air equalizes. That's it. Your pressure is now balanced, and you can work with the vial normally.
Do this for every vial in your kit before you start mixing anything. It takes 10 seconds per vial and saves you a ton of frustration.
Choose the Right Solvent Quality
Your solvent is half the equation. Low-quality solvent introduces contaminants that degrade your peptides or skew your experimental results. You're not trying to cut corners here.
Always use high-purity solvents specifically suited for pharmaceutical or research-grade applications. This usually means sterile, endotoxin-free, and documented through a Certificate of Analysis (COA). Echelon Labs emphasizes solvent quality in every reconstitution recommendation because it's that fundamental to reproducibility.
Check the solvent's expiration date and storage conditions before you use it. If it's been sitting open on a shelf for months, toss it. Old solvent picks up moisture and degradation products that you don't want anywhere near your peptides.
Draw Sequentially Into One Syringe
If your kit has multiple peptide vials, you'll draw them sequentially into the same syringe following your protocol. This is where order and technique matter.
Start with the first vial listed in your instructions. Insert a sterile needle into the vial and draw your precise dose. Keep the syringe steady and the needle angle consistent. Don't jab or wiggle the needle around inside the vial, because that creates microtrauma to the rubber stopper and can shed particles.
Once you've drawn from the first vial, carefully remove the needle and replace it with a fresh sterile needle before drawing from the second vial. This prevents cross-contamination and keeps your results clean. Repeat for each subsequent vial in order.
Manage Vacuum Pressure Safely
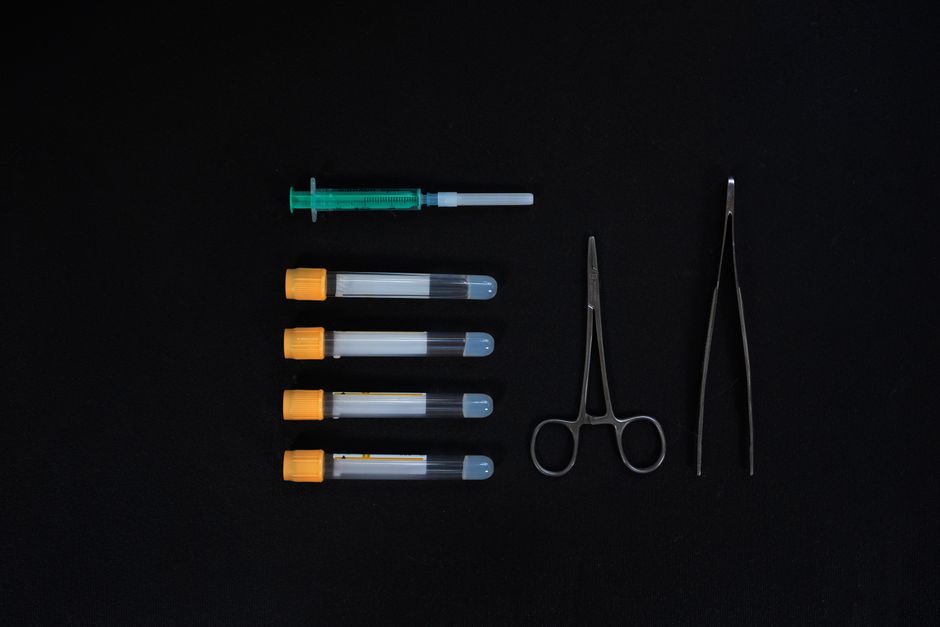
Some peptide kits come in vacuum-sealed vials for extra stability during shipping and storage. Vacuum is good for shelf life, but it creates a challenge when you're trying to draw out your compounds.
When you insert a needle into a vacuum-sealed vial, air rushes in as you draw. This can make the plunger stick or the vial collapse slightly, which puts stress on your peptide solution. To avoid this, hold the plunger gently in place while you're inserting the needle. You're creating a balanced pressure environment so the solution draws smoothly.
Think of it like slowly opening a valve instead of yanking a door open. Control and patience prevent damage.
Mix Gently, Never Shake
Here's a rule that surprises a lot of new researchers: never shake your peptide vials. Shaking introduces air bubbles and mechanical stress that degrades peptide chains.
Instead, gently swirl or roll the vial between your palms for 30 to 60 seconds. Watch the solution. You're looking for it to become clear and homogeneous. If it's still cloudy or settled after gentle swirling, wait a minute and repeat. Patience here protects your investment.
If you absolutely need to speed up dissolution, warm the vial slightly in your hand or place it in a room-temperature water bath (not hot water). Heat helps, but gentle heat only. Never use a heat gun or microwave.
Minimize Agitation Throughout
Beyond the initial mix, minimize agitation for the entire shelf life of your reconstituted solution. Every time you handle it, transport it, or shake it for any reason, you're introducing stress that can fragment peptides.
Store your reconstituted kit in a stable, upright position. Label it clearly with the date and contents. If you need to move it, carry it gently. If you're transporting it between rooms or buildings, use a padded container and drive smoothly.
This sounds fussy, but stability is the whole point. Researchers working with Echelon Labs peptides report that careful handling throughout the reconstitution and storage phases directly correlates with better experimental reproducibility and fewer batch failures.
Document Everything as You Go
The best reconstitution practice you can adopt is documentation. Write down the exact date, time, solvent lot number, vial lot numbers, and any observations during mixing.
Related: Peptide COA Documentation Compliance Checklist for Labs
If you're working in a regulated environment, this documentation is essential for compliance. Even if you're not, it's invaluable for troubleshooting. If your results later seem off, you can trace back to exactly what happened during reconstitution.
Use your lab's standard documentation format or create a simple spreadsheet. Timestamp everything. When your reconstitution is complete, photograph your notes and store them with your experimental data. Future you will thank present you.
Storage After Reconstitution
After you've reconstituted your peptide kit carefully, storage conditions matter just as much as the mixing process did.
Store your reconstituted solution in the coldest safe place available, typically between 2-8°C if your protocol allows it. Some peptides require freezer storage at -20°C or lower. Check your kit instructions or the COA document that came with your compounds. When in doubt, ask the supplier.
Use sterile, inert containers. Don't transfer your reconstituted peptides into unmarked or questionable vials. Keep the original kit vials if possible, or use pharmaceutical-grade storage vials with secure caps.
Avoid repeated freeze-thaw cycles. Every time you freeze and thaw, you're putting thermal stress on the peptides. If you know you'll need multiple aliquots, divide your solution into single-use portions before the first freeze. That way you only thaw what you actually need.
When to Contact Your Supplier
Sometimes reconstitution doesn't go smoothly. Maybe the solution stays cloudy after 10 minutes of gentle swirling. Maybe you see particles or unusual discoloration. In those cases, stop and reach out to your supplier before you use the kit.
Quality peptide suppliers like Echelon Labs stand behind their products with full traceability and documentation. If something seems off during reconstitution, contact their support team with your batch number and COA. They can help you troubleshoot or replace the kit if there's a genuine issue.
Don't guess or work around it. Using compromised compounds wastes more time and money than reporting the issue upfront.
What solvent should I use for peptide reconstitution?
Use high-purity, sterile, endotoxin-free solvent specifically designed for pharmaceutical or research applications. Your kit instructions will specify the exact solvent type (usually sterile water for injection, bacteriostatic water, or a buffered solution). Never use tap water or general laboratory solvents. Always verify the solvent's COA and expiration date before use.
Can I shake my peptide vial to mix it faster?
No. Shaking introduces air bubbles and mechanical stress that degrades peptide chains. Instead, gently swirl or roll the vial between your palms for 30 to 60 seconds until the solution is clear and homogeneous. If you need to speed up dissolution, use gentle warmth (room-temperature water bath) instead of force.
How long does a reconstituted peptide kit stay stable?
Stability depends on your specific peptides, solvent, and storage conditions. Most reconstituted kits remain stable for 2-4 weeks when stored at 2-8°C, but some peptides are more or less stable. Check your kit documentation or COA for exact shelf-life guidance. Always store in sterile, inert containers and avoid repeated freeze-thaw cycles.
Do I need to balance pressure in every vial?
Yes. Even if it doesn't seem necessary, pressure balancing prevents vial collapse, makes drawing solutions easier, and protects the integrity of your peptides. It takes 10 seconds per vial and is standard practice in professional research settings. Use a sterile needle inserted at a gentle angle to equalize pressure before you start drawing anything.